Layout for Skyboat application
This document goes over the layout of the Skyboat. Here you will find general information on how to use the application as well.
Overall Layout
Skyboat was developed with a mobile design layout first. So the application will work and run on a mobile device with only a few minor layout issues. The first image below is the full screen view of the application.
Next will will look at how the page shifts and adjusts itself to address small screens.

Navigation Bar
At the top of the page you will find the navigation bar. The navigation bar will stay at the top of the page at all times for easy access to it's contents.

When the screen becomes small enough, some of the navbar items will shift and change to better fit a small screen.

The links and info is not missing, it is just hidding under the hamburger menu. Click on it to show the contents of the menu.

Documents Menu
A small list of documents and other links are provided for your convenience here.
Skyboat Controls
The Skyboat application comes with a small set of controls to interact with the code and page.
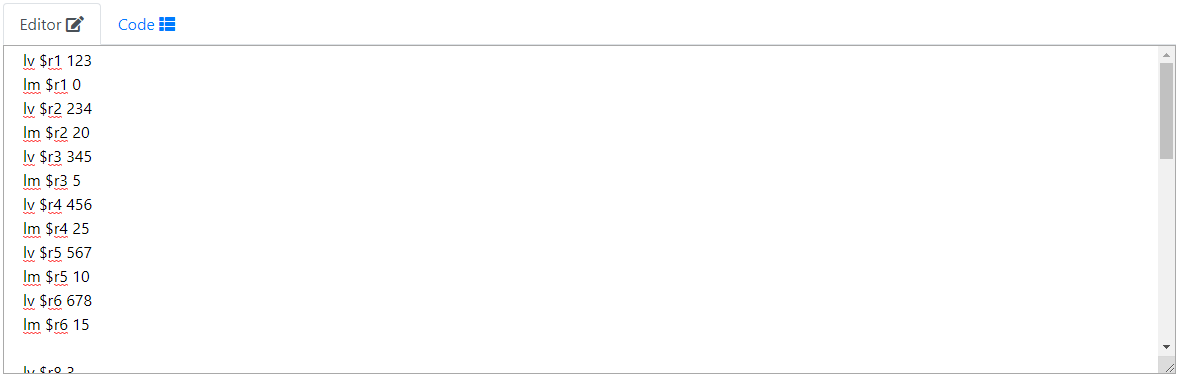
Editor Window
A simple editor text area window is provided to input and edit your pseudo-assembly code for the application to read.
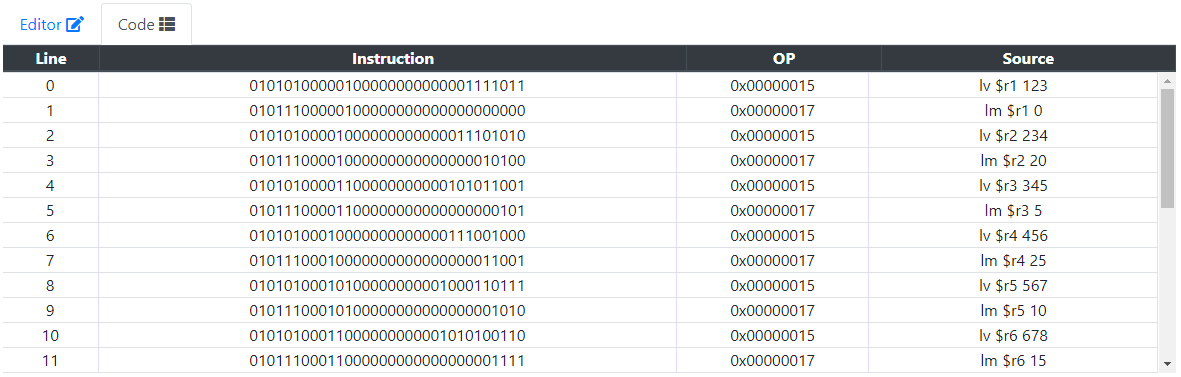
Code Window
The code window is only populated after you have clicked on the compile button. Once the code has been compiled, the table is populated with information about the code. First is the text line number where the code was found. Next is the opcode full instruction set. Third is just the opcode value. Finally the source code line for reference.
Registers Window
A registers window area is provided to keep track of the register values that are used in the
application. The application is setup and designed to have a 63 registers that the user can use and
access. Register 0 is reserved for system use (not used at this time) and is not available to the user.
The user has access to 1-63. Registers are all treated the same. They are 32 bits and the user can use
them in anyway they like to. The user will need to be careful to use the registers appropriately. They
might store a float value into a register, then try to use it as an int. Float and Int bit layout are
different and will return different results. Float bit order and format is based on teh IEEE-754-1985
standards. The register window comes with 6 tabs.
B is for Binary (default tab).
I is for signed integer.
U is for unsigned integer.
D is for decimal (float value).
H is for hex.
A is for ASCII.
These tabs will show the registers window with the values in that format.
When the application is running, The register window will highlight the last register to be updated and
scroll the window to that section of the register so that the latest change is always visible at all
times.

Memory Window
A memory window area is provided to keep track of the memory values as they are used during execution.
The memory window comes with 4 tabs.
Binary to show the memory as binary values.
Integer to show the memory as integer values.
Hex to show the memory as hex values.
ASCII to show the memory as ASCII values.
Like the Registers Window, the Memroy window will highlight the last memory location that was updated.
The window will also scroll to always keep the lates value update in view at all times.

Output Window
An output window is provided. It does nothing at this time.
